Table of Contents
Generally, replacing car parts on your own is a do-or-die. When you replace the car parts yourself, you save a significant amount of money and enjoy the satisfaction of maintaining your vehicle. Of course, not all repairs can be done alone; some are best left to the pros. However, many tasks—replacing used alternators, ECMs, and even used auto engines, to name a few—can be done from home if you are well-equipped with the proper tools and experience. For a successful DIY repair, you must first understand the whole process.
We’ll take you from toolbox organization and workspace preparation to finding and accessing your parts—whether it’s in a Ford junkyard or from sources like Used Auto Parts Pro—all the way through post-installation testing to assure you that everything is ready and in working condition.
Preparing your tools and workspace.
Prior to conducting any repairs, it is imperative to acquire all necessary tools and establish a clean work environment. This initial step will keep your project going smoothly and safely.
1. Create a Clean and Organized Workspace
Location: You can replace car parts in the garage or even on the driveway. There should be enough space to reach all sides of the car and ensure safe access.
Ventilation: The space should be well-ventilated, especially if working with chemicals or installing complicated vehicle parts as a used ECM for the engine.
Lighting: For car parts replacement, illumination is required. Install shop lights and even portable LED lights everywhere to improve visibility, especially in dimly lit areas like the engine bay.
2. Gather Essential Tools
The following are typical lists of tools required for most car repairs:
- Socket Wrench Set: A socket wrench set is a collection of tools used to tighten or loosen fasteners, such as nuts and bolts, with the help of a ratcheting mechanism.
- It is used to remove and reinstall the bolts used in changing essential parts on components such as the alternator or even the engine mounts.
- Torque wrench: A torque wrench is a special wrench that tightens a bolt to a specified value of torque.
- It ensures that nuts on car engines or air conditioner compressors are tightened just right, not overtightened or under-tightened, to prevent damage or failure.
- Screwdrivers (flathead and Phillips): Screwdrivers are flat-headed and Phillips-type hand tools used to pull out or pry electrical connectors, as well as small components.
- When installing a used ECM or an alternator, screwdrivers facilitate the extraction of a disconnection wire or smaller components such as battery terminals or wiring clips.
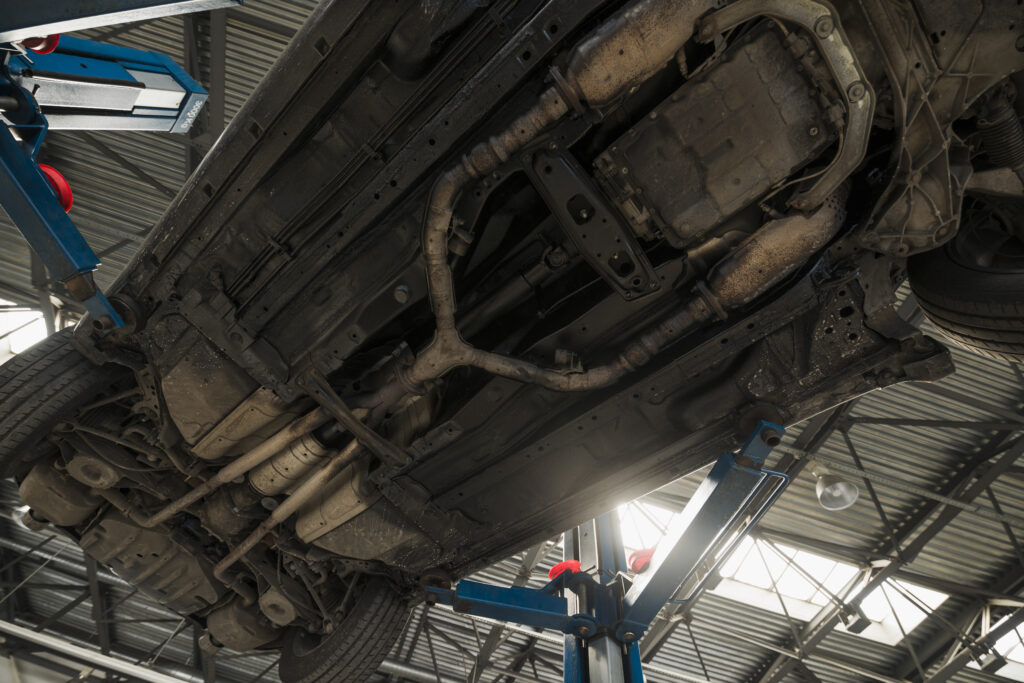
- Jack and Jack Stands: Jack and Jack Stands are tools designed to lift and support an automobile off the ground so that it can be serviced.
- They make safe elevations of the vehicle to enable easy access to the undercarriage region for replacement parts, such as auto engines or air-conditioned compressors.
- Breaker bar: A breaker bar is simply a long-handled tool that provides extra leverage when needed to release jammed or rusty bolts.
- It is used to break loose, tight bolts commonly found in engine components or suspension systems and might seize over time due to corrosion or dust.
- Multimeter: A multimeter is an electrical testing device used to measure voltage, current, and resistance in circuits.
- Multimeters are used to test electrical parts, such as ECMs or alternators, before or after installation to ensure correct function.
- Pry Bars and Pliers: Pry bars and pliers are tools used for gripping devices to dislodge stuck fasteners, hoses, or other parts.
They come in handy for accessing hard-to-reach areas, like installing around an engine to access hoses or electrical contacts that need to be removed for maintenance or part replacement.
3. Set Up for Safety
Safety should always be paramount when working on a car.
- Personal Protective Equipment: Gloves are a must when you touch anything with sharp edges, and safety glasses can prevent dirt and debris from obstructing your view.
- Fire Extinguisher: A fire extinguisher is handy anytime, but especially when you have electrical work or are near the fuel lines.
Identifying and Sourcing the Right Parts
After preparing your tools and workspace, it’s time to find the parts you’ll need for your automobile repair. From this point on, you will understand how to locate reliable used auto parts, potentially saving you a significant amount of money and time while maintaining your vehicle.
1. Identify the part that you will need.
Before you head to the retailer, check which part you require through your vehicle’s make, model, year, and VINs. For example, when you are changing your vehicle’s ECM, it should match the make, model, and type of engine.
2. Where to Get Parts
You have some options to acquire second-hand car parts, and each source has its benefits:
- Online Retailers: Websites such as Used Auto Parts Pro carry a varied selection, including, but not limited to, used ECM modules, alternators, and even used automobile engines. Often tested, these parts come with a warranty.
- Salvage Yards and Junk Yards: Salvage yards are a reliable source for your OEM parts at a cheaper cost. For example: If you own a Ford, a visit to a Ford junkyard may prove particularly beneficial, as it provides you with direct exposure to genuine parts manufactured exclusively for your Ford automobile.
- Local car parts dealers: They offer used or slightly used parts, such as used compressors for air conditioners, even though their prices are typically higher than those of salvage yards.
3. Benefits of Used Parts
- Cost Savings: In comparison to new car parts, used car engines, alternators, and other used auto parts are significantly more affordable.
- OEM Quality: Buying your parts from salvage yards like Ford Junkyard or reputable sellers like Used Auto Parts Pro ensures OEM quality, which is usually better than the aftermarket parts.
Step-by-Step Replacement Instructions
Now that you have found your desired part and are ready to begin, let’s outline the process for replacing several common parts, explaining each step in detail.
1. Replacing a Used Alternator
Step 1: Disconnect the battery.
Before starting work on an automobile’s electrical components, disconnect the negative battery cable to avoid shock or short circuits.
Step 2: Find the Alternator.
The alternator is typically located in front of the engine. Locate a belt that passes around the alternator pulley. Refer to your owner’s manual to find exactly where.
Step 3: Slacken the alternator belt.
Use an OTC serpentine belt tool or a wrench to loosen the tension on the belt. Pull the belt from the alternator pulley, taking note of the routing for later installation.
Step 4: Disconnecting electrical connectors
You will carefully unbolt and unhook one or two wires connecting the alternator. You can even mark the wires if needed for later reassembly.
Step 5: Removing the old alternator
The final step is the removal of the old alternator.
Remove the alternator from the mounting bracket by unbolting it. You may have to jiggle it a bit to remove it if it is well-fitted.
Step 6: Installing the Used Alternator
Mount your used alternator in the mounting bracket, bolt it together, and reconnect the electrical connections.
Step 7: Reinstall the belt.
Be cautious and reroute the serpentine belt back around the alternator pulley. Tighten it with a tensioner tool. Ensure that the belt is aligned properly with all pulleys.
Step 8: Reconnect the battery,
Finally, reconnect the negative link in your car. Test your alternator by starting your automobile. But make sure to glance at the dashboard for warning lights, either the battery or the alternator.
2. Installation of Used Engine Control Module (ECM)
Step 1: Disconnect the battery.
Always remove the negative terminal to avoid an electrical shock.
Step 2: Find the ECM
In most cars, the ECM is behind the engine bay, near the firewall, or under the dashboard. Check your manual for the exact location.
Step 3: Pull out the ECM
Extract the wiring harness from the ECM by gently pressing the clips that hold it and then pulling it free.
Step 4: Remove the ECM
Normally, the ECM is fastened using screws or bolts. You must remove it with the appropriate wrench or screwdriver.
Step 5: Install the used ECM.
Place the previously used ECM in its designated location and secure it with a bolt or screw. Reconnect the electrical harness, ensuring that it is securely in its place.
Step 6: Reconnect the battery and test.
Reconnect the battery and start the vehicle once everything is back in place. The type of vehicle you use may require an OBD-II scanner to clear error codes.
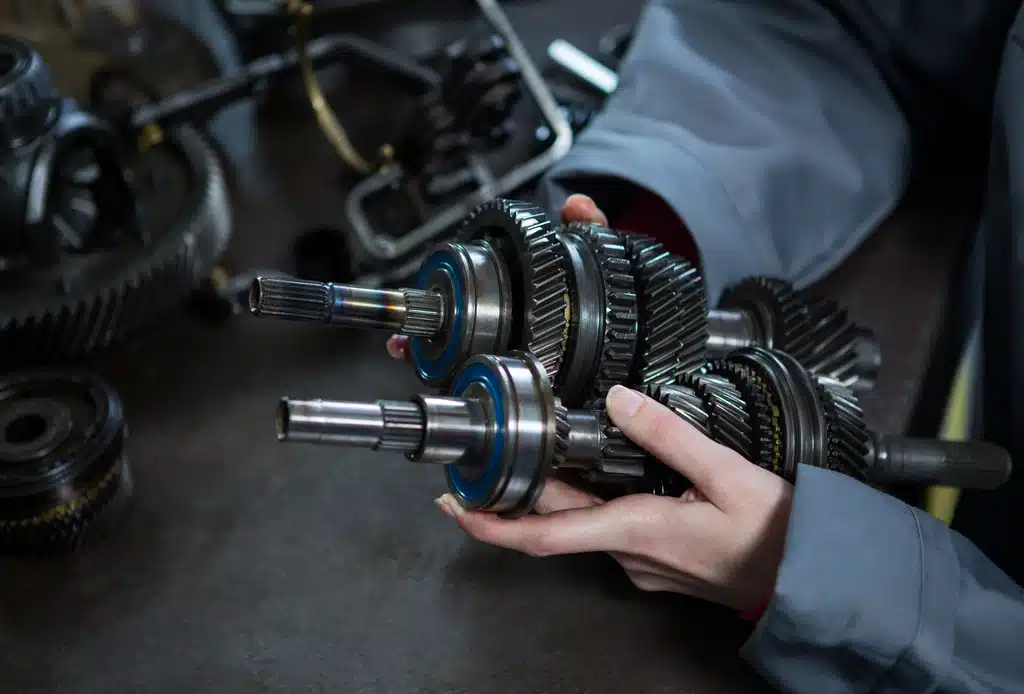
3. Replacing a Used Auto Engine
Although replacing an entire engine is a significant task, you can do it at home with the right tools and patience.
Step 1: Remove all components.
Begin with removing the battery. Disconnect the air intake, radiator hoses, and electrical wires. Do everything in a sequence and label them so you will be able to put everything back in the proper order.
Step 2: Drain all fluids.
You need to drain all the fluids: engine oil, coolant, and transmission fluid, so they don’t spill when you remove the engine.
Step 3: Remove the transmission bolts
To detach the transmission, use the bell housing bolts. Working with a transmission, you’ll need to support the weight as you maneuver with the help of a transmission jack.
Step 4: Using an engine hoist
Attach an engine hoist to the engine at the manufacturer’s suggested lift locations. Slowly pull the engine out of the bay, taking care of any remaining connections.
Step 5: Install the Used Auto Engine
Slowly lower the used auto engine into the engine bay, ensuring that the transmission and motor mounts are in line. Secure everything, reconnect all wires and hoses, and replace all the fluids.
Step 6: Test the installation.
Reconnect the battery and fire up the engine. Always listen for unusual noises and also search for leaks.
Common Challenges and How to Overcome Them
1. Stuck or Rusty Bolts
Solution: Soak in penetrating oil or WD-40, and let it sit for 10-15 minutes before attempting to remove the bolts. You can use a breaker bar to give additional leverage.
2. Wrong Fitment of Part.
Solution: Confirm the part number and vehicle application thoroughly before ever installing anything, especially electrical equipment such as a used ECM. When purchasing through Used Auto Parts Pro verify with their employees to ensure they are compatible.
3. Electrical Issues After Installation.
Solution: If your car ever enters fault codes after installing a used ECM or alternator, scan it for problems using an OBD-II scanner. It’s possible you need to clear or reset the ECM.
Post-replacement checks and testing
1. Testing for Leaks or Unusual Noises
Immediately after the installation of a used auto engine or car air conditioner compressor, inspect the vehicle to look for leaks or unusual sounds from the whining, knocking, and grinding noises, among others.
2. Testing Electrical Components.
Check an alternator or a used ECM that has recently been fitted with a multimeter. You ought to scan for problem codes in the ECM and check the alternators’ voltage output.
3. Take it for a spin.
After checking everything, test drive the car to make sure everything is in working order. Check dashboard lights and listen for strange noises that may indicate trouble.
Conclusion
Replacing car parts on your own can be both rewarding and cost-effective. With the right prep, excellent used auto parts from sources like Used Auto Parts Pro, and these simple step-by-step guides, you can tackle a number of repairs yourself. From installing a used ECM to replacing a used alternator, or even a whole used car engine, this book will give you the knowledge to do the job like a pro.
Are you prepared to keep up your car’s maintenance?
Start saving money by replacing your original car parts with quality secondhand auto parts from good stores such as Used Auto Parts Pro. Do not waste time; go round up your equipment and begin your DIY repair today!
Visit Used Auto Parts Pro to find the right part for your next project.
Click Here
FAQ
You can save between 30% and 70% when purchasing used auto parts rather than buying new ones. Many times, you also will receive OEM parts that have been made to the same standards as the original parts, meaning quality fitment. Suppliers like Used Auto Parts Pro offer tested parts that assure you without such a price tag.
It is essential to make sure a used ECM meets your requirements for a specific model of car. Always cross-reference the part number to ensure that it comes from the make of your car, the model, year, and engine type. Well-established sellers, such as Used Auto Parts Pro, may also help guide you to the correct ECM meant for your car.
Test the pulley and electrical wiring before purchasing used alternators. You should also ask your supplier if they have ensured their used alternators produce proper voltage. A reputable second-hand parts dealer, such as Used Auto Parts Pro, can sell you alternators that meet OEM testing and verification standards.
You can ask questions on its mileage, previous maintenance done on the part, and if it has been put into tests whatsoever. The used engines with excellent merchants, such as Used Auto Parts Pro, normally come along with warranties for the customer. This assures you that the engine is in a good working state and thus will be functional.
Yes, many reputable sellers, like Used Auto Parts Pro, offer a guarantee on the used auto parts they are selling, such as ECMs or alternators. However, do not stop there; question how long the warranty lasts and what is covered under that warranty so you will be protected in case the part fails.